
About a month ago I found a recipe for thin mint cookies. I decided it would be a nice thing to make some and take them to my co-workers for Valentine's Day. Little did I know what an adventure it would be!
I doubled the recipe, which was not necessary at all. I am including the regular recipe which I got from the internet at The Family Kitchen, posted by Brooke McLay.
Cocoa Wafer Cookies
3 T butter
1 egg white
1/4 c brown sugar
pinch of baking soda
1/2 tsp salt
1/4 c cocoa powder
1/2 c flour (plus 1/4 c)
2 drops pure peppermint oil
Combine all ingredients together (I ended up using a pastry cutter, and then my hands). The dough shouldn't be sticky, and you should be able to roll it out. Preheat the oven to 325. Use your favorite cookie cutter to cut out shapes. I found a really cute heart one at the store. Roll the dough out. The recipe says "verrrry thin" but I don't think that's accurate. Just do what you think it best. Bake for 4-7 minutes until cookies have firmed and browned slightly. Let cool.
 Baked cookies, cooling.
 Peppermint Buttercream Layer
2 c powdered sugar
4 T melted butter
2-3 drops peppermint
1/2 tsp milk (the recipe says heavy whipping cream, but I didn't want to buy a whole thing of whipping cream for 1/2 tsp.)
Mix all ingredients together. The buttercream layer will be stiff, and not sticky. You will be able to roll it out. I was going to make them pink since it is for Valentine's Day, but I forgot. I realized this after I rolled them out.
 Cut with the same cookie cutter you used before. To make the cookies and the buttercream layer took me about an hour and a half. I have no idea why. AND! I was trying to make the buttercream layer, and measuring out the milk and I was trying to not spill a whole bunch of milk so I got this great idea of just sticking the measuring spoon into the milk carton. Well, the spoon is now in my milk carton. And I ended up with too much milk anyway, so I had to put more powder sugar in. But it all worked out and I got it rolled out.
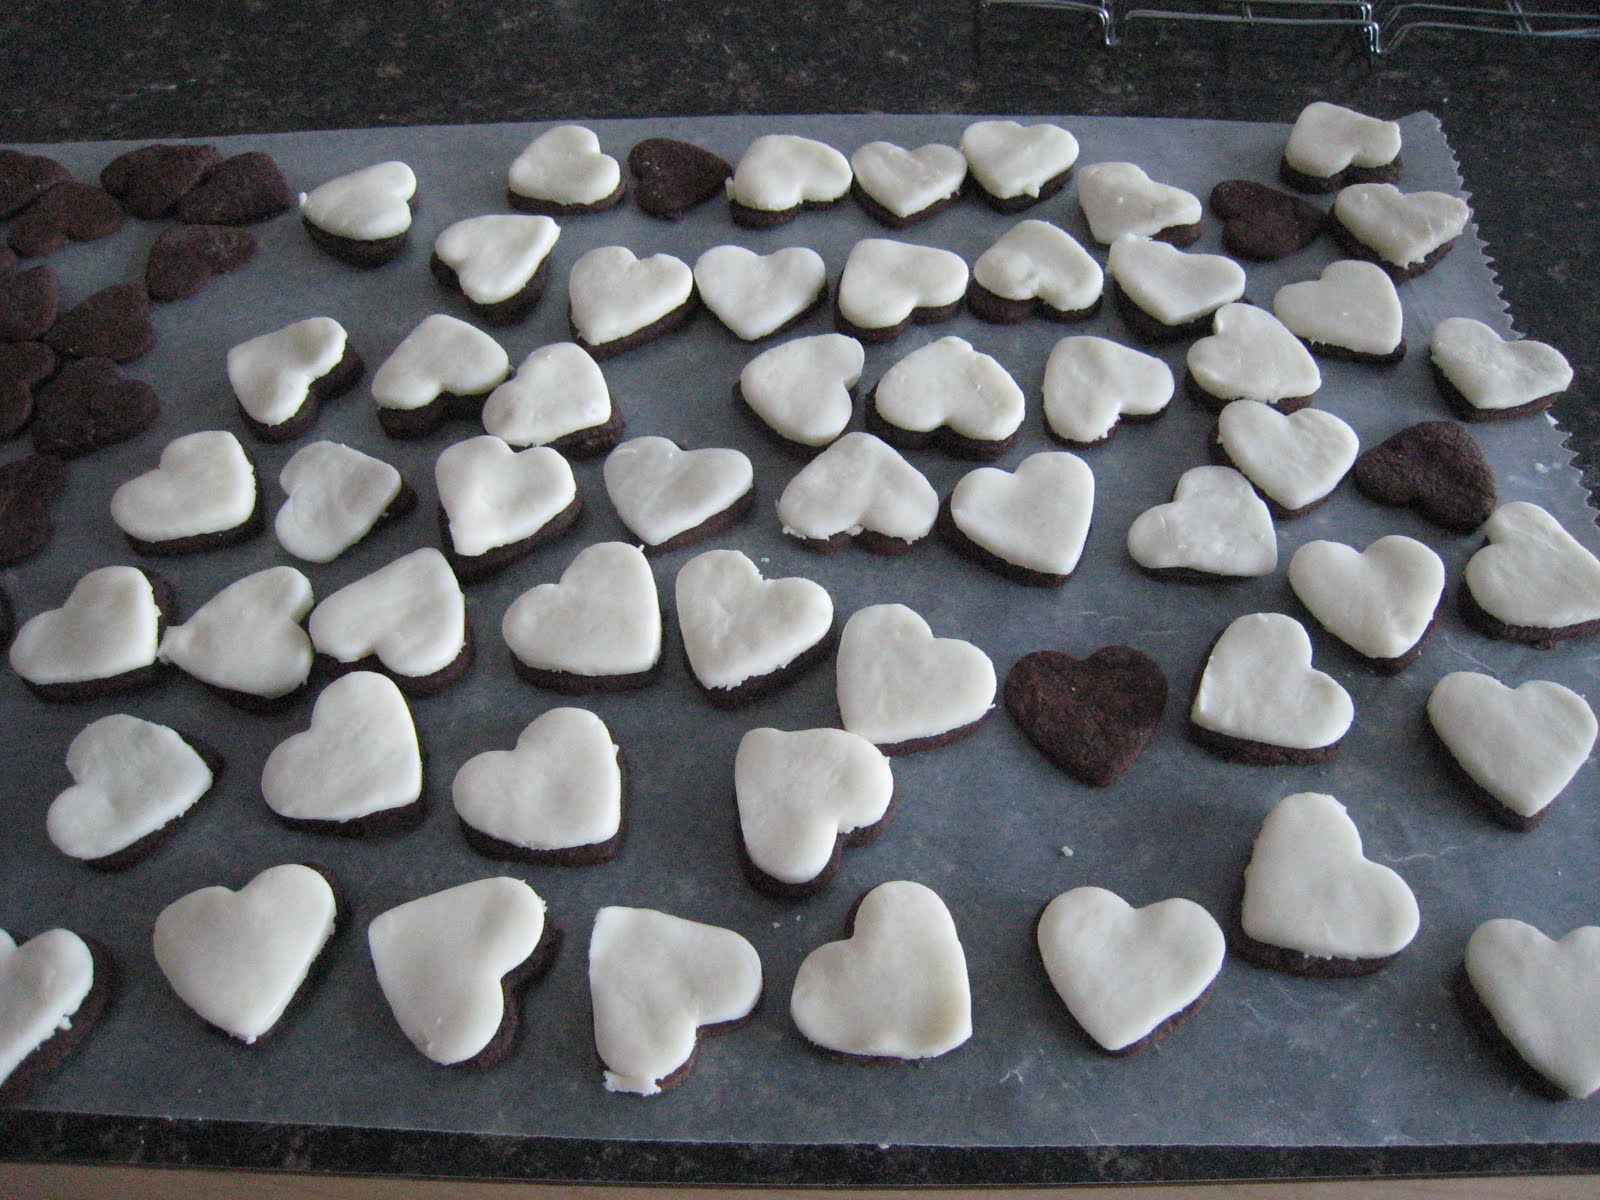 After you cut the buttercream, put it on top of the cookies.
 The next step is to dip it into chocolate. The original recipe said to use Candiquik, which I don't know what that is. I just used confectioner's chocolate from the grocery store. I bought two pounds (since I was making a double recipe), one pound milk chocolate and the other dark. Follow the directions for melting on the package. I did the microwave directions.
 Dip the cookie in the chocolate and cover. Set on parchment/wax paper to cool. This step took FOREVER! My hands got all chocolatey and I kept licking the chocolate off, which meant I then had to wash my hands, and I got sick of chocolate. For the time being.
 Here's the finished product. I don't think I will be making these again in, like, ever. They were majorly time consuming and frustrating. I spent all afternoon on them with very few breaks and I finally finished them at around 8. My parents said they taste good though--I was so disgusted with them by the time I was done that I haven't even tried them yet.
Anyway, if you're up for it, try them. They look cute and I really hope that my co-workers like them.
MMMMMmmmm)))Cool,tempting dish
ReplyDelete